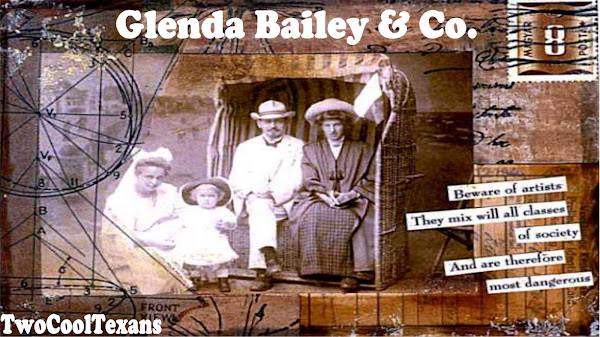
wanted to write a tutorial on how to use our images (I used flowers) to transfer onto a tag. Here is the finished tag.

I printed with an inkjet printer and my image (just the text) smeared a bit. I should have used my Epson pigment ink printer but I need to run out the dye ink on the other one. Had my image not had text, it would have just been a little softer and actually looked a bit more vintage. But, I kinda like the soft smudges anyway. I also have long fingernails and I tend to scratch the tags. I like that too. But anyway, I use only Printworks Everyday Satin Photo Paper for transfers. Target carries the packages and their website says that CVS pharmacy does. But Target's are good price. If you do have text, you will have to "flip horizontally" the picture before you print it, so that the text will read correctly.
You will need alcohol in a mist bottle. I use 60 or 70%. Trust me, use that strength. You just can't make substitutes and expect to get good results.
I cut out my tags using Stampin Up flecked white paper and my Big Shot Sizzix.
Cut out your image from the image sheet that you plan to use. Eyeball where you are going to want it to come out on your tag. I liberally spray the tag with the alcohol. I used to spray the image, but I like this better. You have better control. Spray, then quickly lay down the image (face down).

Now, you have to be patient. I use the backside of a spoon and burnish the image down. The alcohol dries quickly, so I lift up the paper carefully and keep re-misting.

I generall have to do this about 7 or 8 times. Just lift up half of it at a time, spray, burnish. Keep working your way around. If you just leave the image on there, it will dry and stick to the tag and it's hard to get it off.
After your image looks pretty good, peel off the paper and let the tag dry. Here is a picture of what the image looks like and what the paper even looks like. There is always some image left on the paper.

Then when it is dry, I use sponge daubers and Ranger Distress Inks to accent the edges and I als
 o do the back. I also go around the edges with a permanent marker, but you could stamp something tiny around the edges also.
Add some fibers and ribbon. I also stamped a rummy tile and used it as an embellishment in the corner. Okay, I am an overachiever.
Again, here is the finished tag.


5 comments:
Great tutorial! Very informative.
Very kewl I have done alcohol on Sheer Heaven and it looks just like what you originally printed. But I do like the look of a transfer not so perfect...that is the beauty of a transfer after all.
Your tutorial is great I will have to try this...thanks much:>)
Thanks for the tips. I'm gonna go and fetch some Satin paper and try this out.
Hello Glenda!
Enjoying your blog. Just discovered it and found this one where you were having trouble with your ink smearing. Check out my blog for a tip I shared when making my pendants.
http://lavendulaloveliness.blogspot.com/
Thanks, Glenda. These transfers still frustrate the heck out of me, so every time I see one of your's, you motivate me to keep trying. Part of the problem, I've discovered, you've touched on here, deciphering the various inks, printers, copiers and papers. Combined they all give different results, therefore require different timing and mediums, it seems.
Post a Comment